January 12, 2023


I built my first darkroom when I was 13. For my first several years of photography I shot, processed and printed almost all black and white. When photography became my full time profession in 1985 I shot more color than black and white. I started using digital cameras in 1987. However, now more than 30 years after my start in photography, black and white remains a passion. It’s impossible to impart all the techniques and tips I’ve learned but here are a few favorite and important ones for black and white photography. Some apply only to digital capture but most apply to film too.
1. Shoot RAW Except for compact point and shoot cameras, most digital cameras allow you to capture raw images. This gives you the widest range of tones and colors possible. It also requires some post processing but if you want the best image possible, use raw capture. When you shoot in raw you will also be shooting in color (see tip #3). This may not immediately make sense but most software uses the original color information while you’re optimizing your black and white image.
If your camera isn’t capable of being set for RAW, shoot in color for the reasons just cited.
2. Shoot with the intention of creating black and white images. The best black and white images are generally those intended to be that way from the beginning. If you’re not an old hand at black and white photography then it’s important to train yourself to think and visualize in black in white and shoot specifically with that in mind. Of course you can discover an image that looks great as a monochrome after the fact but your rate of successful black and white images will be much higher with that intention behind them.
3. Set the LCD screen on the back of your camera for Monochrome. Most cameras will allow you to shoot raw and also be able to view the images on the LCD in black and white/monochrome. This helps you to visualize in black and white as you’re shooting. Canon calls it “Picture Style” and Nikon calls it “Picture Control”. On some cameras you may have to set it to shoot RAW + JPEG- meaning it will shoot both of these at the same time and what you will be viewing on the LCD is the black and white JPEG.
A word of caution here. The LCD on the back of your camera is NOT very accurate whether you view in color or black and white. If you treat it as a general guideline it can be helpful but don’t try to judge nuances from the LCD.
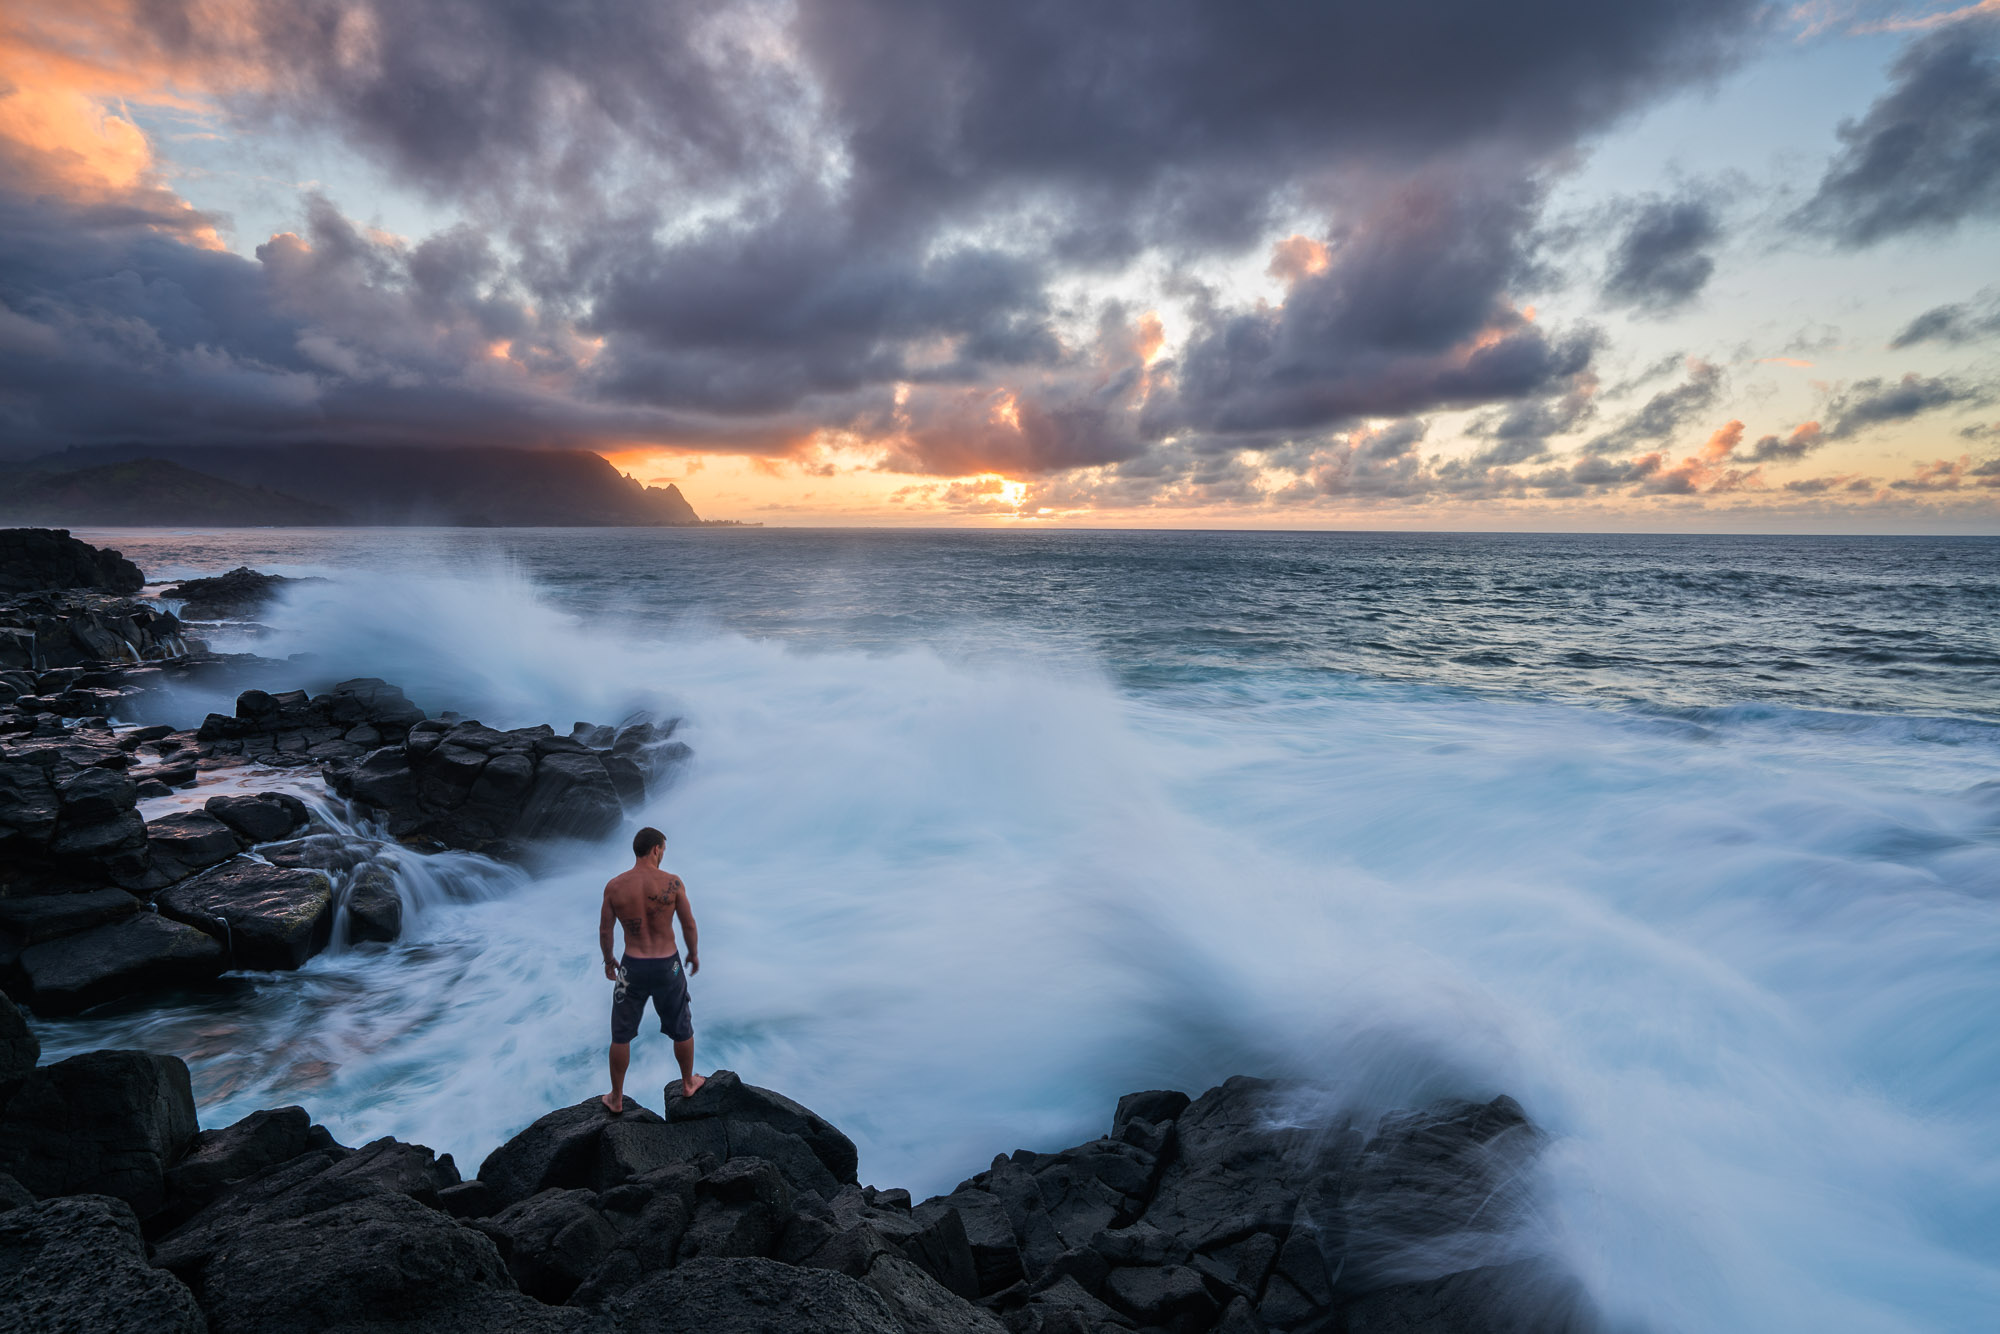
4. Compose without color. This is a mental challenge. When you’re looking at or thinking about a scene, subject, or moment to capture, ask yourself: Will this image tell the the story best in black and white? This means trying to think about the lighting, subject, and tonal values over any influence from color. Look for images you can create that are compelling without color.
5. Shoot on overcast or rainy days. For color photography many photographers will avoid shooting on overcast or rainy days. I think such weather is great for black and white (I could make the same argument for color but we’re talking monochrome here.) There are all kinds of subtle tones that might otherwise be lost on a sunny day with harsh shadows. It’s also great light for portraits and photos of people.

6. Think about the non-color visual design elements of your image. Without color the components of visual design become that much more important. Look at the lines in the image. Are they horizontal? Vertical? Diagonal? Do they form a pattern? Rhythm or repeating elements in a photo are interesting, with a break in the repetition being even more interesting. Also look at the texture, shapes, and forms in the image. Concentrating on these will take your mind off the color and enhance your ability to “see” and think in monochrome.
7. Use a calibrated monitor and neutral viewing environment. A properly profiled monitor is essential to making any judgements about, or adjustments to, your images. This may be even more important for black and white where the subtleties of tone are critical. Also best to keep your viewing environment as neutral as possible. White walls are better than bright red and even subdued neutral clothing helps because your clothing will be reflected back into the monitor. I usually wear a gray or black shirt or sweatshirt when I’m adjusting images.
8. Train your brain for black and white by comparing the same images in both black and white and color. Most photo software lets you go back and forth between images or look at them side-by-side. A good way to teach yourself how to visualize in black and white is to look at the same image both ways. Do this with as many images as you can. I would include images that you initially intended to be black and white as well as those that were not intended that way. Sometimes you will discover great black and white images that weren’t shot with that purpose. More importantly it will ultimately help you be able to look at a color scene in the world and visualize it as a black and white image.
9.Crop your image before doing adjustments to it. If you’re looking at a lot of extraneous information that will be cropped out eventually anyway, you don’t want it to influence your adjustments to the image (which it will if you leave it there). Our eyes and brains look at things relative to what’s around it- so don’t let irrelevant information get in the way of fine tuning your image.
10. Before converting your color image to black and white make it a bit gaudy. By this I mean make your image more contrasty and saturated than you would if the final image were to be in color. Monochrome images are about the contrasts of tones and I’ve found that by exaggerating the contrast in color you end up with a better starting point when you convert to black and white. This may mean using both contrast and saturation related controls in your software.
Successful black and white photography is a combination of both technical and artistic elements. Good camera equipment and software is only a starting point. I hope that these tips will help those starting out and serve as reminders for those that are more experienced. Most of all, have fun!

© 2005 - 2024 Topaz Labs. All rights reserved.